Now that we’re a few weeks into isolation, grocery-runs have become infrequent. Making the most of what we have is something we always try to practice, but I’ve become much more aware of the need for utility, now that I can’t merely pop over to the store for a couple of items. For this reason, I’ve decided to do a mini series, featuring methods and recipes that fill my kitchen!

I’m not exaggerating when I say we always have homemade stock on-hand. As an ingredient that’s often used in my cooking, whipping up the odd batch has become routine. I usually make enough for a pot of soup plus a few full containers to store in the freezer, and I rarely wait until I actually need the batch I’m throwing together. Similar to bread-making, stock has become something of a ritual for me. The process is nourishing and wonderfully therapeutic, and because I focus on practicality, there’s a satisfaction I get from seeing vegetable-scraps re-purposed. I see stock as a means to use the parts of food that otherwise get thrown out. And while we’re passionate about composting, we still like to do our best to get the most out of all our ingredients. So consider this the utilitarian way of “stocking up”.
Before we go any further, let’s address the age-old question… What is the difference between stock and broth? While stock is traditionally made with bones, broth is made usually made with meat and/or veggies. Stock is typically simmered for a much longer time than broth, during which collagen is extracted from the bones. This results in a more gelatinous consistency when cooled, while broth remains loose and thin when refrigerated. All that said, the difference I’m most concerned about is that, unlike stock, broth is meant to be able to stand on its own. A properly seasoned broth will be salty and delicious to sip on. Stock on the other hand, is a base for cooking, and should be used as a building block for various dishes. It isn’t meant to be the final product, but rather a means to get there, making it a frequented ingredient in my kitchen. So let’s talk stock!
Think before you toss…
As I cook, I save and store a variety of vegetable scraps in a freezer bag, and since my gathered ingredients rarely look the same, I’ve decided to outline my method, instead of my recipe (which doesn’t really exist).
My most frequently collected scraps include…
- Onion skins (they give the stock a lovely golden hue, but don’t go too crazy or the liquid can become quite dark)
- Carrot shavings and tops
- Celery ends (you can include some of their leaves)
- Green onion ends
- Dark green portions of leeks(which I always separate and wash away sand and dirt thoroughly before storing)
Along with scraps, I’ll freeze whole carrots or celery that have lost their firmness, parsley that’s becoming a bit sad, and the white and pale-green portions of leeks that weren’t used in their prime. The beauty of this, is that it allows you to almost always be in a position to make a nice big pot of stock… at least with the addition of a few fresh and whole ingredients and spices.

Certain ingredients are okay to include in small amounts, like herbs, bell peppers, asparagus, and beets (although beets will colour your stock quite dark), but you want to be careful with these, as they can really change the undertones of the stock. I like to stick to a mixture of onions (yellow onions, shallots, leeks, and green onion ends usually), garlic, whole carrots and shavings, celery, and some thyme and parsley. Anything more will be used in small quantities.
As for what not to include, it’s most important to avoid foods from the Brassica family. Kale, cabbage, broccoli, kohlrabi, rutabaga, etc. can give the stock a very bitter flavour when cooked down. That being said, soup made from the stock is a lovely place for things like collard greens, which is another great opportunity to use those ingredients that are beginning to wilt.
Then there’s the bones…
Chicken stock is my go-to, while I periodically use other types of bones as they accumulate in my freezer. Evan and I love to roast chickens, and it would be a shame to throw that flavour in the trash, when it’s fully capable of lending depth to a big pot of stock. We also tend to buy our chickens whole and break them down ourselves (in an attempt to eat in balance of the whole animal), leaving us with raw carcasses as well. In either case, I store these in reusable freezer bags and usually make a big pot of stock once I’ve got about two or three ready to go (depending on their size). Chicken feet are also a fabulous addition (we buy ours from a local farm, along with most of our meat), but that’s a luxury I tend to save for broth.
As for pork, beef, lamb, etc., we try to utilize pretty much everything, but tend to accumulate these more slowly. So, I’ll periodically throw together a stock with a variety of animal bones, once I’ve gathered enough. I like to save this stock for roasts and dark gravies, where I’m looking for deeper flavour and colour.
Putting it all together…
Once you’ve gathered a couple of carcasses and plenty of veg, you’re almost ready to go. With the exception of a few fresh onions, a head or two of garlic, and some herbs and spices, you should have everything you need for a lovely chicken stock.
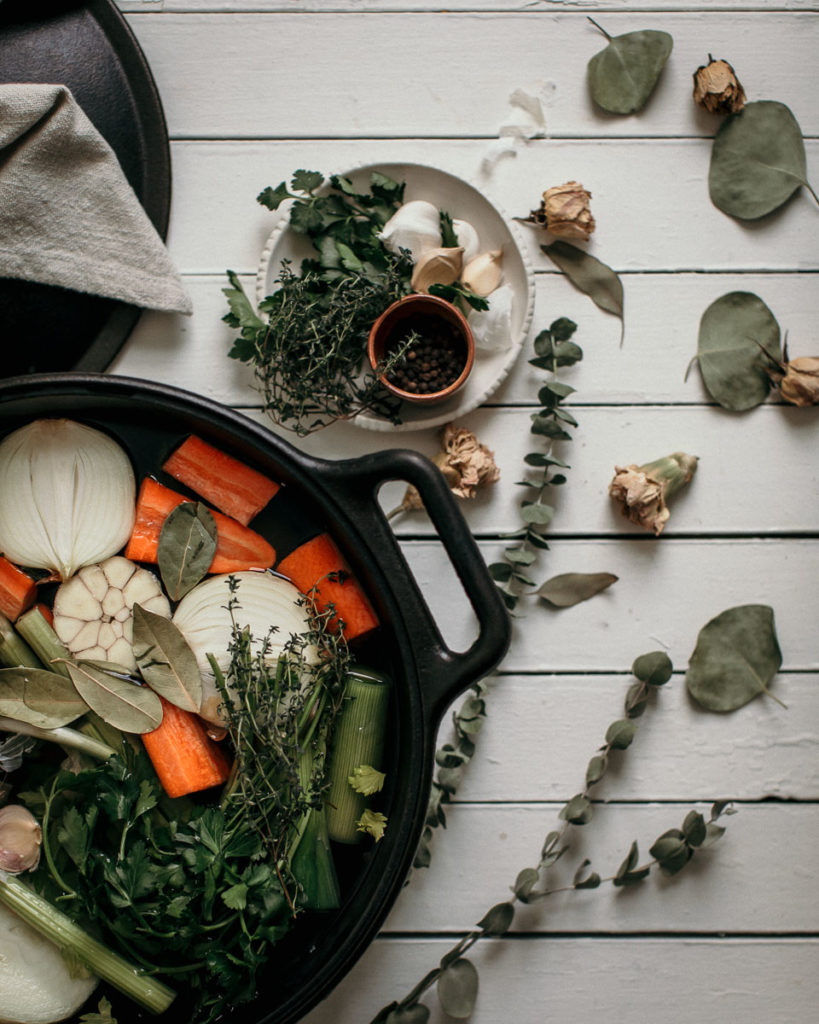
Contents of the stockpot:
- Chicken carcasses
- Freezer veggies
- Two halved onions
- Two halved heads of garlic
- A small bunch of fresh parsley
- A small bunch of fresh thyme
- Any other fresh carrots, celery, leeks, etc. that you have to contribute
- 10 black peppercorns
- 3 Bay Leaves
Note: Another ingredient I often like to add for extra flavour are parmesan rinds. Rinds will keep in your freezer for an exceptional amount of time, and one large or a few small will really richen the stock.
Since everything will be strained out upon finishing, knife skills are of little importance here. A rough chop will do just fine. My mom always taught me to pack as much flavour in as possible, so I aim to have about 2/3’s of my stockpot packed with ingredients.
Add enough water to submerge all the ingredients and simmer uncovered for 4-6 hours, occasionally skimming off the impurities that float to the top. You want to keep everything submerged, so if the liquid cooks down and exposes the chicken or vegetables, add just enough hot water to cover them again. Since we’re making stock, as opposed to broth, this doesn’t need to be seasoned to taste. Stock is a building block for cooking, while broth is meant to be a finished product that should be able to stand-alone. Taste the stock for richness and depth, but expect the seasoning to occur in the eventual dish it will take part in.
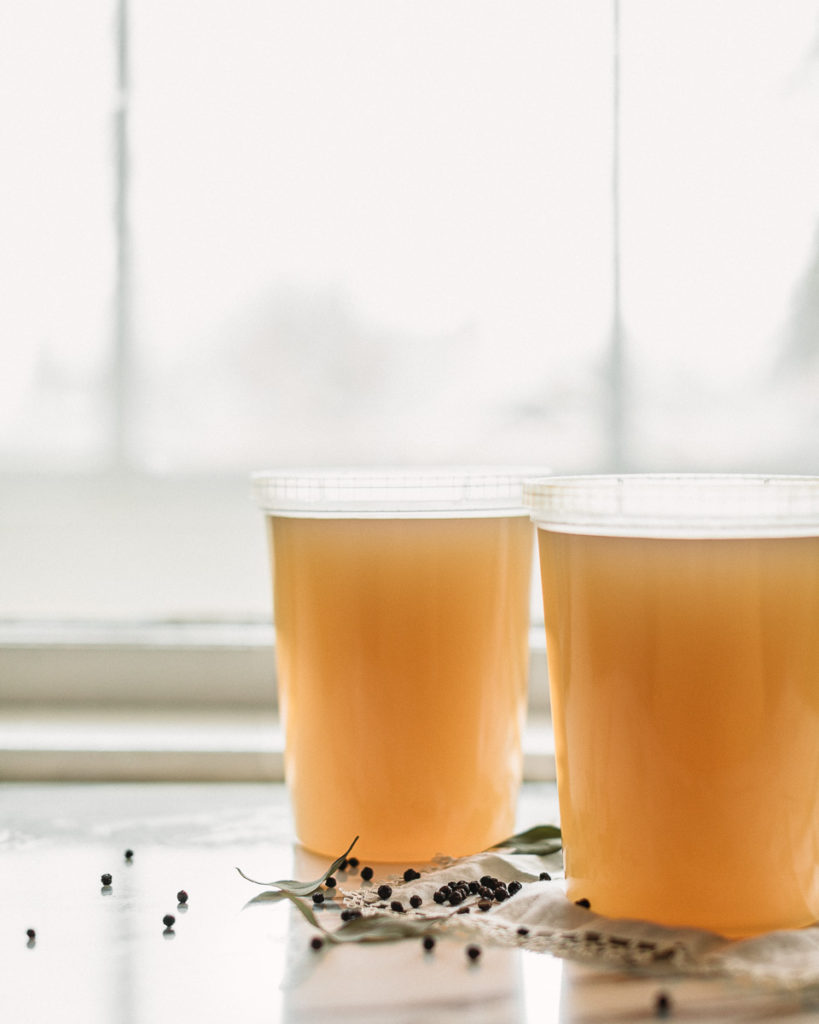
Once finished, strain and divide the broth into 2 or 3 large separate bowls, and allow it to come to room temperature. Freeze in plastic containers, and reserve some in the fridge for immediate use if desired!
Happy stocking!
Leave a Reply